Friday, July 11, 2014

High Chair Makeover

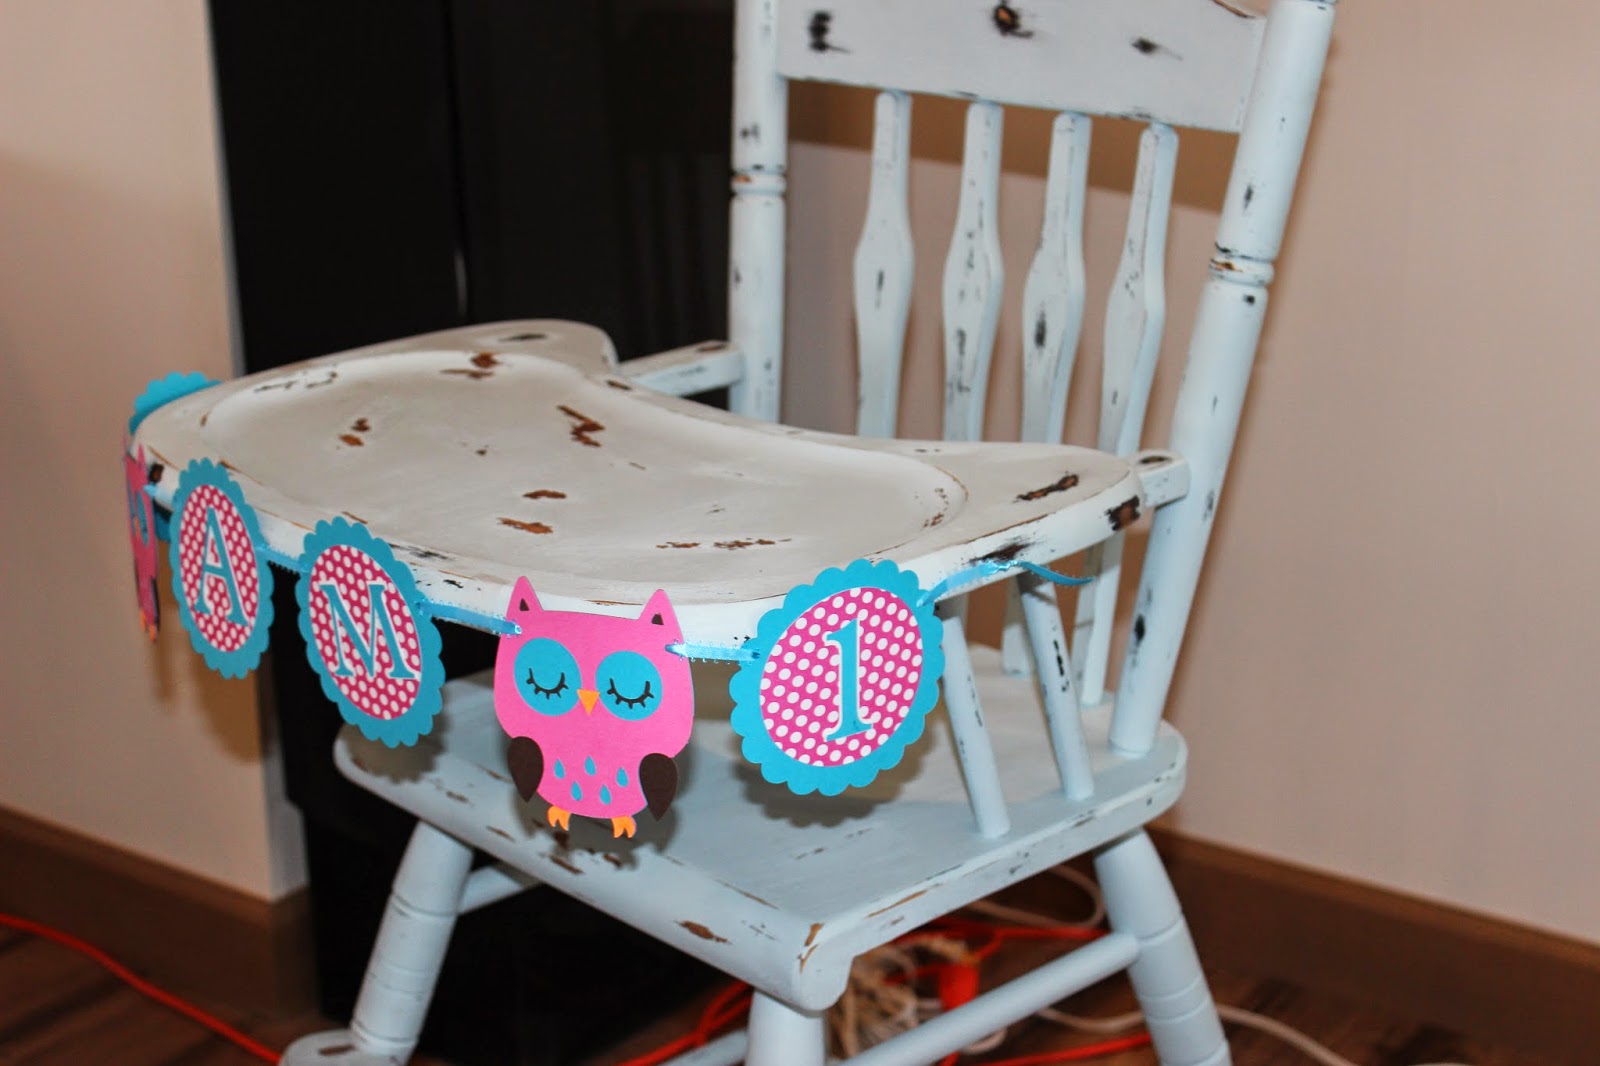
I know I promised this high chair refinish post months ago so here it is! FINALLY!! Thanks to help from my sister-in-law, I was able to get this project underway. I found this old wood high chair at a garage sale last summer. YES, it took me 1 YEAR to get it done, but oh well!!! When I saw it I knew I was going to refinish it and use it for my daughter's 1 year photo session. I have never done anything like this before so I was terrified to begin. Perhaps that's why it took so long?! Ok I'm not going to ramble on any more, until the next post! ;) Let's get down to the details.

I used a quart of paint for this project (and I have a ton left so I'm looking for my next victim).
I also bought a carton of Plaster of Paris (again I didn't use much).
I did not measure, I just added the plaster until I was happy with the thickness.

Here are my tips:
1. Mix the paint and plaster of paris in a plastic container that can be sealed up for later use because it does dry fast.
2. Remember that the plaster of paris will lighten the color of the paint just a little.
3.  You want the paint mixture to be thick but smooth.
4. Take before pictures.

So how did I do it?
Be sure you wash up the wood piece really well with warm soapy water. Did I spend hours sanding before I was ready to paint? NO!!!! I took a piece of sandpaper (medium grit) and just went over a few rough spots. This is where the plaster of paris is a life saver! It helps to thicken the paint and cover it really well.
 
By the time I painted the first layer on the black was mostly covered. I only did 2 layers and everything was covered perfectly. I did antique mine so I wasn't worried about everything being 100% perfect either. I did remove the metal tray pieces and the seat strap.

I also took note of where the natural distress marks where so I could somewhat duplicate a natural worn out look. I think it turned out pretty great! I just used the same sandpaper as before and lightly rubbed to get the look I was going for.


 I was relieved when the painting was finished and looked great. But then it was time to distress it. and I was scared! I started with the tray because I knew this would be covered in the cake photos and that I might not use it for the others. This was the hardest section to sand because I didn't know where to do it. The original one was pretty worn but I also didn't want a wood center with a blue rim. So I decided to wing it!
 

I loved the spots like this where you could see the black and the original wood all in one location. Finished and all ready for photos!!
 

Mommy with the birthday girl! Love you so much Nomi!!

I did not seal the chair up yet because I did not know what to use. I want it to have the matte finish so I have some researching to do. Hope this helps you out and encourages you to dive into your project as well. It was so easy to do! I truly enjoyed every step of it, and I already have a few more pieces I am going to work on this winter!

Remember if I can do it, you can too!!
Leah


Pin It!

Friday, May 9, 2014

Look Whooo's One!

One?!?! I can't believe my baby girl is already 1! I see all these other kids I know and comment on how fast they have grown, then I look at my own children, and I am reminded how precious our time together is. God has blessed us with 2 wonderful children, and I love telling them how much we love them! It was Naomi's turn to be spoiled with a great party. Owls was our theme and I had a lot of fun making everything. The high chair was a garage sale find that will be talked about more in a later post. :) The banners are made from the Cricut, homemade tutu, cupcakes, owl cupcake toppers made from Stampin Up punch, and flying owls made from paper lanterns. Hope you enjoy!


I have to let you in on a little secret... my husband helped ice the cupcakes!!


 Benjamin, Leah, Isaiah (2 1/2), and Naomi (1) Goetz


She loved digging into her cake! We had a wonderful party with our family and friends. We are so blessed to have so many amazing people in our lives and praying for our family!
Pin It!

Wednesday, January 8, 2014

9 months already

It is hard to believe that my baby girl is already 9 months old! We have had fun getting use to 2 kids under 2 and watching them play together. It's amazing to see their interactions and love for one another starting so young. These two crack me up everyday! All Isaiah has to do is shake his head and laugh and soon enough you hear Naomi giggling right along with him. I enjoy taking pictures and videos of my kids all the time. But when Naomi was 3 months old, I started taking over the photo shoots as well. The photos and "professional" experience was starting to get too expensive so thanks to pinterest and other photographers who love to share their work, I have been learning A LOT. Here are a few of my favorite shots from the kids sessions:

Naomi 3 months July 2013


Isaiah 2 years September 2013


 (he did this pose all on his own)


 Naomi 6 months October 2013


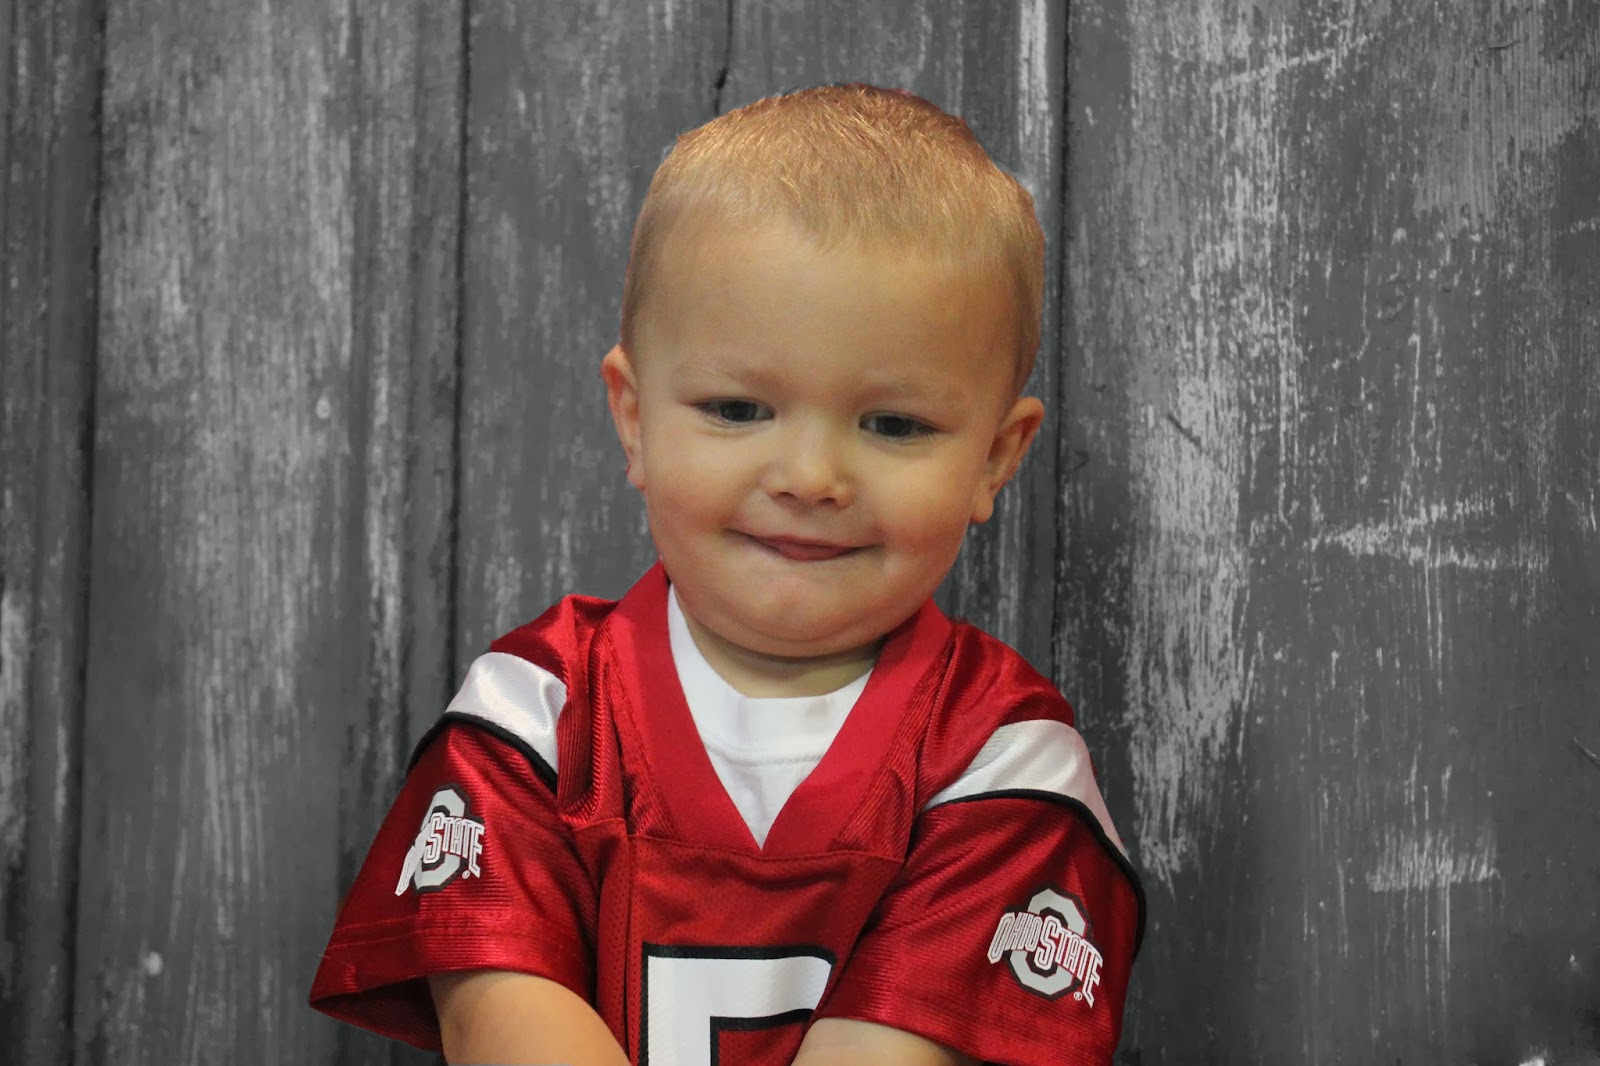
 (had to take a few ohio state shots for grandpa)


Christmas Card 2013


 Naomi 9 months January 2014


I love learning more and more about my camera and photoshop. I still have a long way to go, but it is saving me money, and I'm having tons of fun!!

If you are interested in knowing more about the editing options or want any tutorials, leave a comment and I will get back to you!
Hope you all have a safe and warm week (it has been in the negatives here with negative 48 degree wind chills)!!
And remember... IF I CAN YOU, YOU CAN TOO!

                                                                        Leah
Pin It!