Yarn Wreath

Supplies
1 skein of yarn
craft wreath (I used the green ones)
hot glue
any flowers or embellishments you want to add (scrapbook paper if you do a letter like I did)
sewing pins
glue dots
cutting knife
safe cutting surface


Start with wrapping your wreath with the yarn. I used a few sewing pins to hold my yarn in place where I started. You could hot glue it right away, I waited til I was all done. Wrap the entire wreath (it takes a while but it goes quickly once you get the hang of it) with the yarn and secure your ends with the glue.
Now it's time for the fun part!! Play with the layout of your embellishments before you glue them on. I probably moved my things around 10 times before I was happy with the location! I went crazy on the hot glue because I wanted to be sure that they would not fall off!!!
If you decide to add a wooden letter, you can paint it, cover it with scrapbook paper, or leave it plain. I have tons of scrapbook paper so I went with that option.
To cover the letter, lay it upside down on the scrapbook paper. Again, play with your location if the paper has a design or pattern. When you are ready to attach the paper to the letter, cover the letter with your glue dots. Again, I went crazy because I wanted it to stick!!! Once you have the items secured together, use your cutting knife to cut around the letter. Go slowly so you have nice smooth curves and corners. Once you get it all cut out, you are ready to attach the letter to the wreath. I used the hot glue to get one piece where I wanted it, then I added tons :) of hot glue to all the other areas that were touching the yarn wreath.
It is simple and you can do it!!!! I can't wait to hang it up on our new front door!!!!!!
I Love You Because Frame & Menu Frame

This was so fun to make, and we really enjoy using it!!! I tend to write on it more than my husband (hmmmm), but he does participate and doesn't seem to mind either!!! There are so many options when it comes to making this frame. I made two options that I have seen and love!
Same techniques for the menu board.


Supplies
picture frame (I used 8 X 10 bigger for the menu might be better)
scrapbook paper
flowers or any embellishments you like
scrapbook stickers
dry erase markers
hot glue
Like I said, these were very easy to make!!
The first thing to do is get your frame. Once you know what they look like, that will guide the rest of you designs. Then pick out your scrapbook paper. Remember to use something that doesn't have a busy design or your writing will get lost. Cut your paper down to size.
For the I Love You Because Frame:
I ran my scrapbook paper through the printer to add the "I Love You Because...". I knew the look I wanted from the font, so I did it that way. Just be sure you check your settings and get things laid out the correct way before you print!!! Then stick your paper in the frame and add your embellishments. I played with the flower layout before gluing them! I'm a perfectionist so go figure.
Ta Da. Done!!!
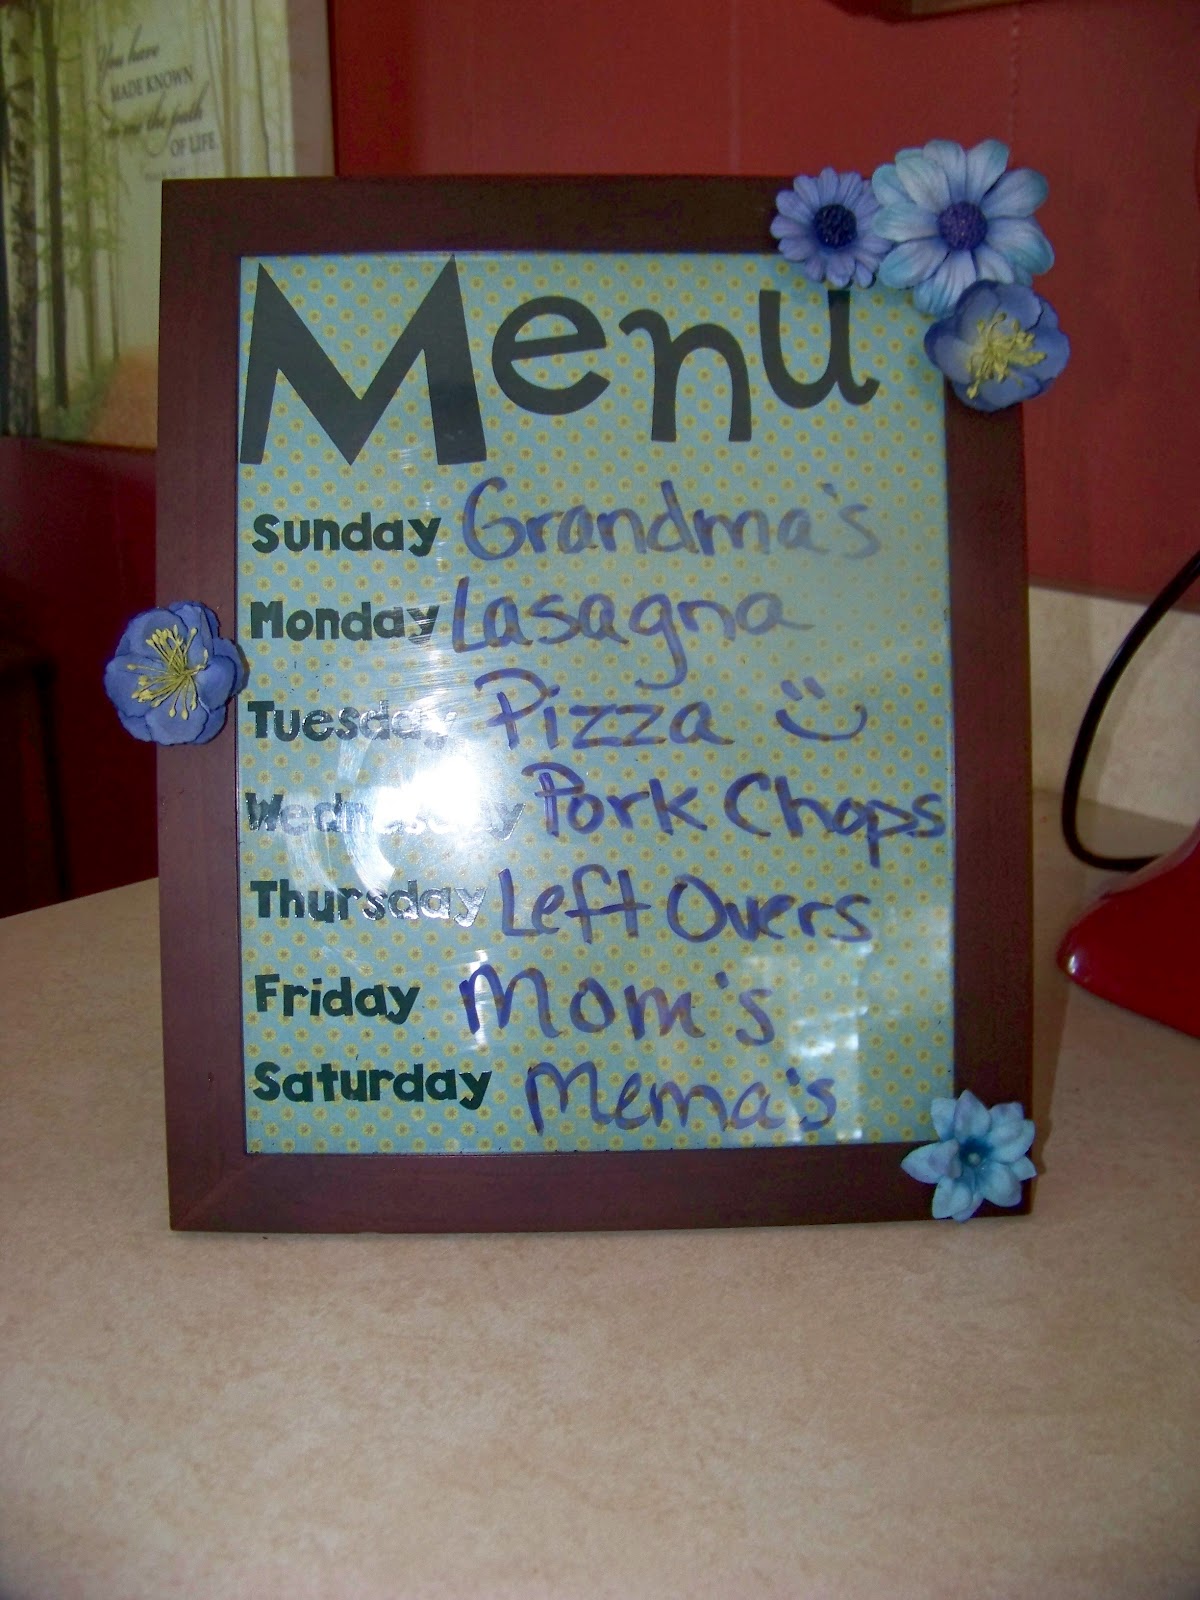
For the Menu Frame:
I am spoiled by having a Cricut!!! I used that to cut out my MENU letters because I wanted them big and I didn't have scrapbook stickers that large. For the days of the week, I used my scrapbook stickers. Don't be afraid to mix and match your stickers!! I made one of these for my sister-in-law, and I used different stickers for the week days. It turned out so cute too!!!
Okay, once you have everything picked out (be sure the colors look nice together), you are ready to assemble. I started with the MENU to be sure I had enough room. Then add your week days. Remember to leave enough room for yourself to write the food out!!! You could also run this through your printer and do it like I did on the I love you frame.
Stick your paper in the frame and add your embellishments. I got these cute flowers at Michael's and I just love them!!!
These are simple and easy crafts to make. I have already given one as a gift, and I can't wait to make a few more for people!!!
If you have any comments, questions, or suggestions, leave them below and I will get back to you! Thanks!!!!
Remember IF I CAN DO IT, YOU CAN TOO!!!!!!!

 Isaiah and Daddy playing in our tent


 Dad and I cutting cucumbers!! Going Crazy!!!
