I used a quart of paint for this project (and I have a ton left so I'm looking for my next victim).
I also bought a carton of Plaster of Paris (again I didn't use much).
I did not measure, I just added the plaster until I was happy with the thickness.
Here are my tips:
1. Mix the paint and plaster of paris in a plastic container that can be sealed up for later use because it does dry fast.
2. Remember that the plaster of paris will lighten the color of the paint just a little.
3. You want the paint mixture to be thick but smooth.
4. Take before pictures.
So how did I do it?
Be sure you wash up the wood piece really well with warm soapy water. Did I spend hours sanding before I was ready to paint? NO!!!! I took a piece of sandpaper (medium grit) and just went over a few rough spots. This is where the plaster of paris is a life saver! It helps to thicken the paint and cover it really well.


I also took note of where the natural distress marks where so I could somewhat duplicate a natural worn out look. I think it turned out pretty great! I just used the same sandpaper as before and lightly rubbed to get the look I was going for.


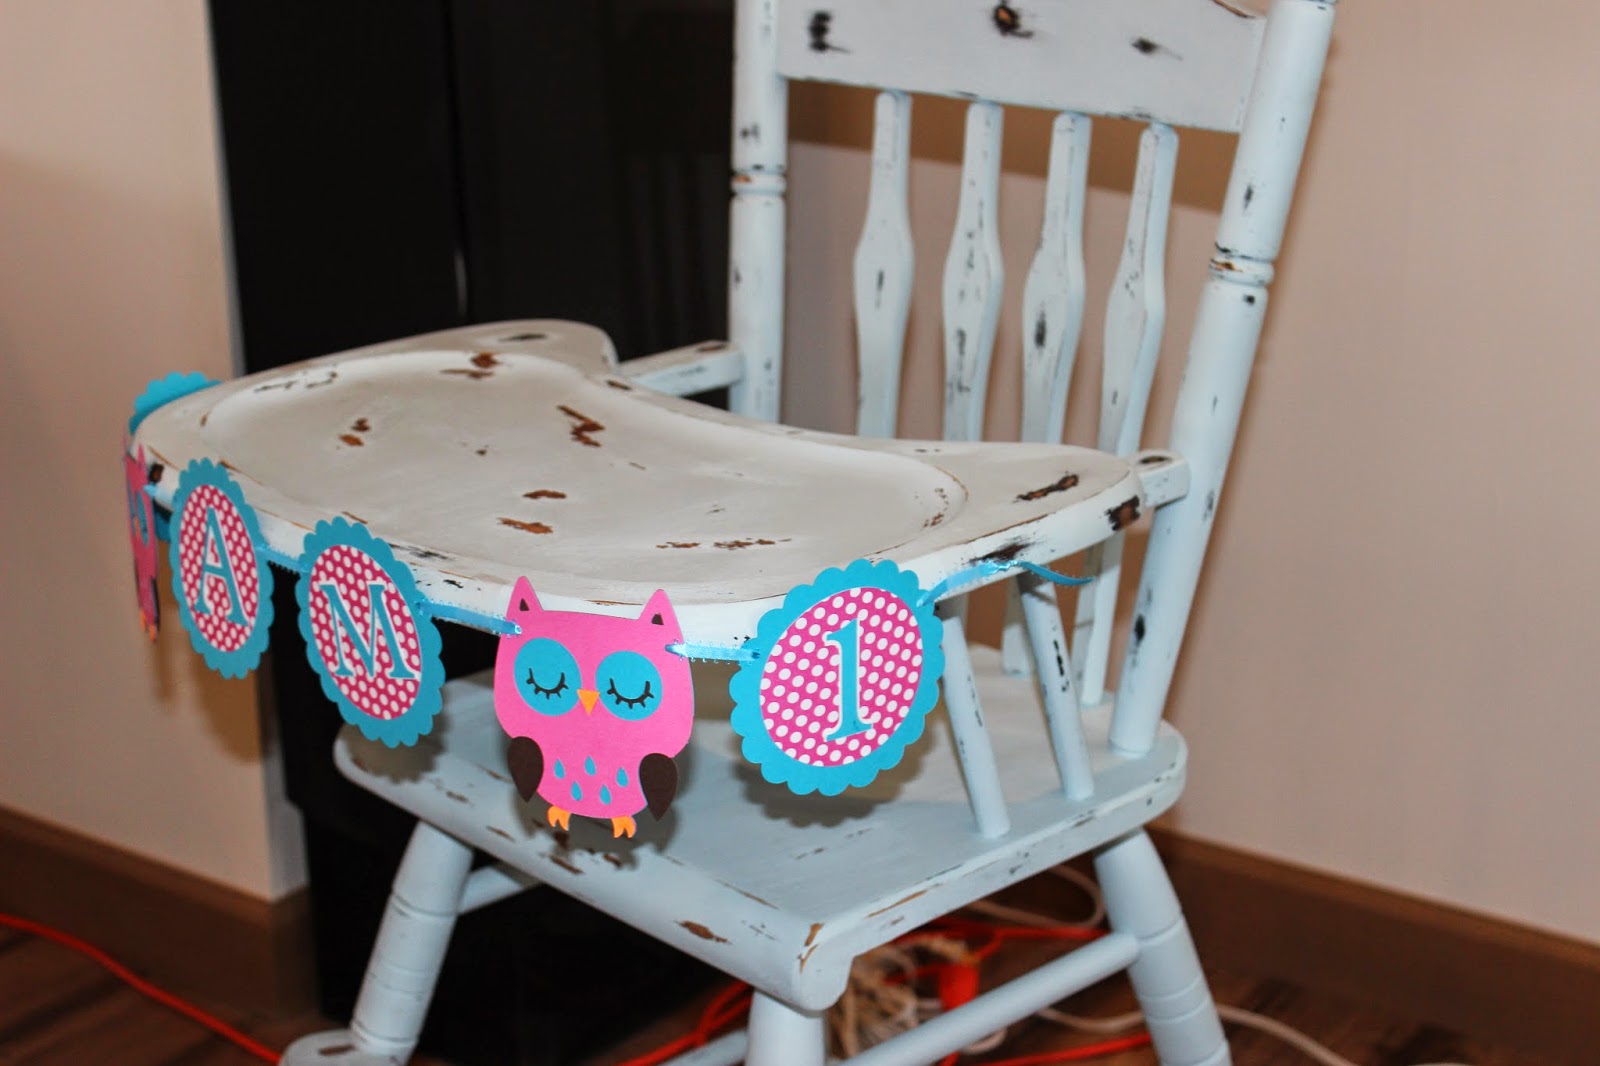
I was relieved when the painting was finished and looked great. But then it was time to distress it. and I was scared! I started with the tray because I knew this would be covered in the cake photos and that I might not use it for the others. This was the hardest section to sand because I didn't know where to do it. The original one was pretty worn but I also didn't want a wood center with a blue rim. So I decided to wing it!


I loved the spots like this where you could see the black and the original wood all in one location. Finished and all ready for photos!!


Mommy with the birthday girl! Love you so much Nomi!!
I did not seal the chair up yet because I did not know what to use. I want it to have the matte finish so I have some researching to do. Hope this helps you out and encourages you to dive into your project as well. It was so easy to do! I truly enjoyed every step of it, and I already have a few more pieces I am going to work on this winter!
Remember if I can do it, you can too!!
 Leah
Leah 