Tuesday, October 28, 2014

Hungry Helpers

I love trying out new recipes especially ooey gooey desserts! The kids love pouring in the ingredients and watching the kitchen aid mixer stir them all up. But their favorite party is being the taste testers. Can you blame them?! I always love licking the bowl after pouring the contents into the pan to bake. This time we made Rocky Road Brownies. Isaiah is a very helpful 3 year old chef! He loves to put the sugar and flour in the mixing bowl "all by myself", he also just learned how to SLOWLY turn the mixing speeds up one notch at a time. :) I hope you enjoy the photos from our experience. This was a fun and easy recipe to make. I'd love to hear about how it turned out for you!!! Comment with your stories/pictures of your little ones making this recipe with you for a chance to win a prize from me!!!
Leah    
Remember, if I can do it, you can too!!!


Rocky Road Brownies
1 1/4 cups miniature marshmallows
1 cup semi-sweet chocolate chips
1/2 cup chopped nuts (walnuts are our favorite)
1/2 cup (1 stick) butter or margarine
1 cup sugar
2 eggs
1 teaspoon vanilla extract
1/2 cup all-purpose flour
1/3 cup Hershey's Cocoa
1/2 teaspoon baking powder
1/2 teaspoon salt


1. Heat oven to 350 F. Grease a 9x13 inch baking pan.
2. Stir together marshmallows, chocolate chips, and nuts; set aside.
3. Place butter in large microwave-safe bowl. Microwave 30 seconds to 1 minute or until melted.
4. Add melted butter, sugar, eggs, and vanilla to stand mixer beating until well blended. Add flour, cocoa, baking powder, and salt. Blend well.
5. Spread batter in prepared pan. Bake 22 minutes. Sprinkle chocolate chip mixture over top. Continue baking 5 minutes or until marshmallows have softened and puffed slightly. Cool completely. With wet knife, cut into squares.
6. Serve with a scoop of vanilla ice cream for an extra special treat. Enjoy!!!


Pin It!

Thursday, August 28, 2014

Birthday Letters

Sometime last year I came across a blog posts about writing a letter to your children every year for their birthday. I LOVED this idea! I am proud to say that I have so far stayed on top of this task and completed Naomi's letter just after her 1st birthday, and Isaiah's letter for this year is already done! He turns 3 on September 11th! Yikes!!! Last year was the hardest letter to write. I went back and did 2 years worth to cover his 1st and 2nd birthdays. It was difficult but not impossible. I want to encourage everyone of you to start writing to your kids. You may want to write a yearly birthday letter like I do, perhaps you prefer a daily/weekly journal entry (that would be easier on my memory), or you may want to write whenever you feel compelled to do so. The point is, it doesn't matter how you do, but PLEASE do it!! I started a binder for each kid. The front cover is a picture of them on their 1st birthday. Then, on the inside, I chose to hand write my letters because to me it would be more special. I then slid each page into a page protector to keep everything in perfect shape.
So what do you write about? How long do you make it? Pictures included? These are thoughts that are going to run through your head as you are thinking about how to begin each letter. And as you are writing it will seem like you have too much, but remember that when your children are older they will have this special gift to look back at and you will never regret writing "too much." My letter this year is 5 pages! I start my letters out differently. The very first year for each child, I explained what this whole thing was. This year, I explained that I had to write with a blue (bew) pen because it is my son's favorite color. Everything has to be blue! I write about memories like this that I don't ever want to forget. I also keep a scrap piece of paper in the front pocket of the binder so as funny things happen or when a Sunday School teacher tells me about how wonderful Isaiah is in class, I can write those memories down immediately. I haven't included any extra pictures yet but I am thinking about making yearly cover pages with a few of my favorite photos of them at that age. I write about funny memories, things they have said or done over the past year, vacations, holidays, and etc. But one of my favorite things to write about is what I call the "Isaiah is" section. I spend time saying things like Isaiah is funny, he is smart, he loves to play with his tractors, trucks, and trains. Isaiah is a great helper to mommy. He helps me clean up, do dishes, cook, take the dirty diapers, and play with Naomi. He is a wonderful big brother!
Here is one of my favorite memories that I included in the letter this year:
One Sunday afternoon, daddy and I told you it was time to take a nap. We were going to be seeing Grandma, Grandpa, Aunt Shelly, Uncle Tim, and Annabelle later on so you need to rest. You went to your room to "hide from Annbell" and everything was quiet as usual. About an hour later (he usually naps for 2-3 hours) daddy and I hear a strange sound coming down the hallway. When we looked up, we saw you standing there with sunglasses on, carrying your magnetic letter bag, and dragging your magnetic cookie tray behind you. We started laughing so hard! You just looked at us and said, "I all done hiding from Annbell. I go see them now." We had to control our laughter and tell you it was time to get back in your bed and take a nap. It was so cute and innocent. You were so excited to see everyone you just couldn't sleep!
It's moments like this that I never want to forget, but I know that I will. That's why I am so intent on completing these letters every year! I plan to write these letters until they are 18 and give it to them as a high school graduation gift. Wish me luck on keeping up with this task! It's never too late to start this! Even if you don't go back to their first year of life, just start where you can. Start writing to them. It really helps on days when you are so worn down and frustrated to have those sweet memories to go back and remind you that they are wonderful babies and a true blessing from God!
And remember if I can do it you can too!!!
Pin It!

Friday, July 11, 2014

High Chair Makeover

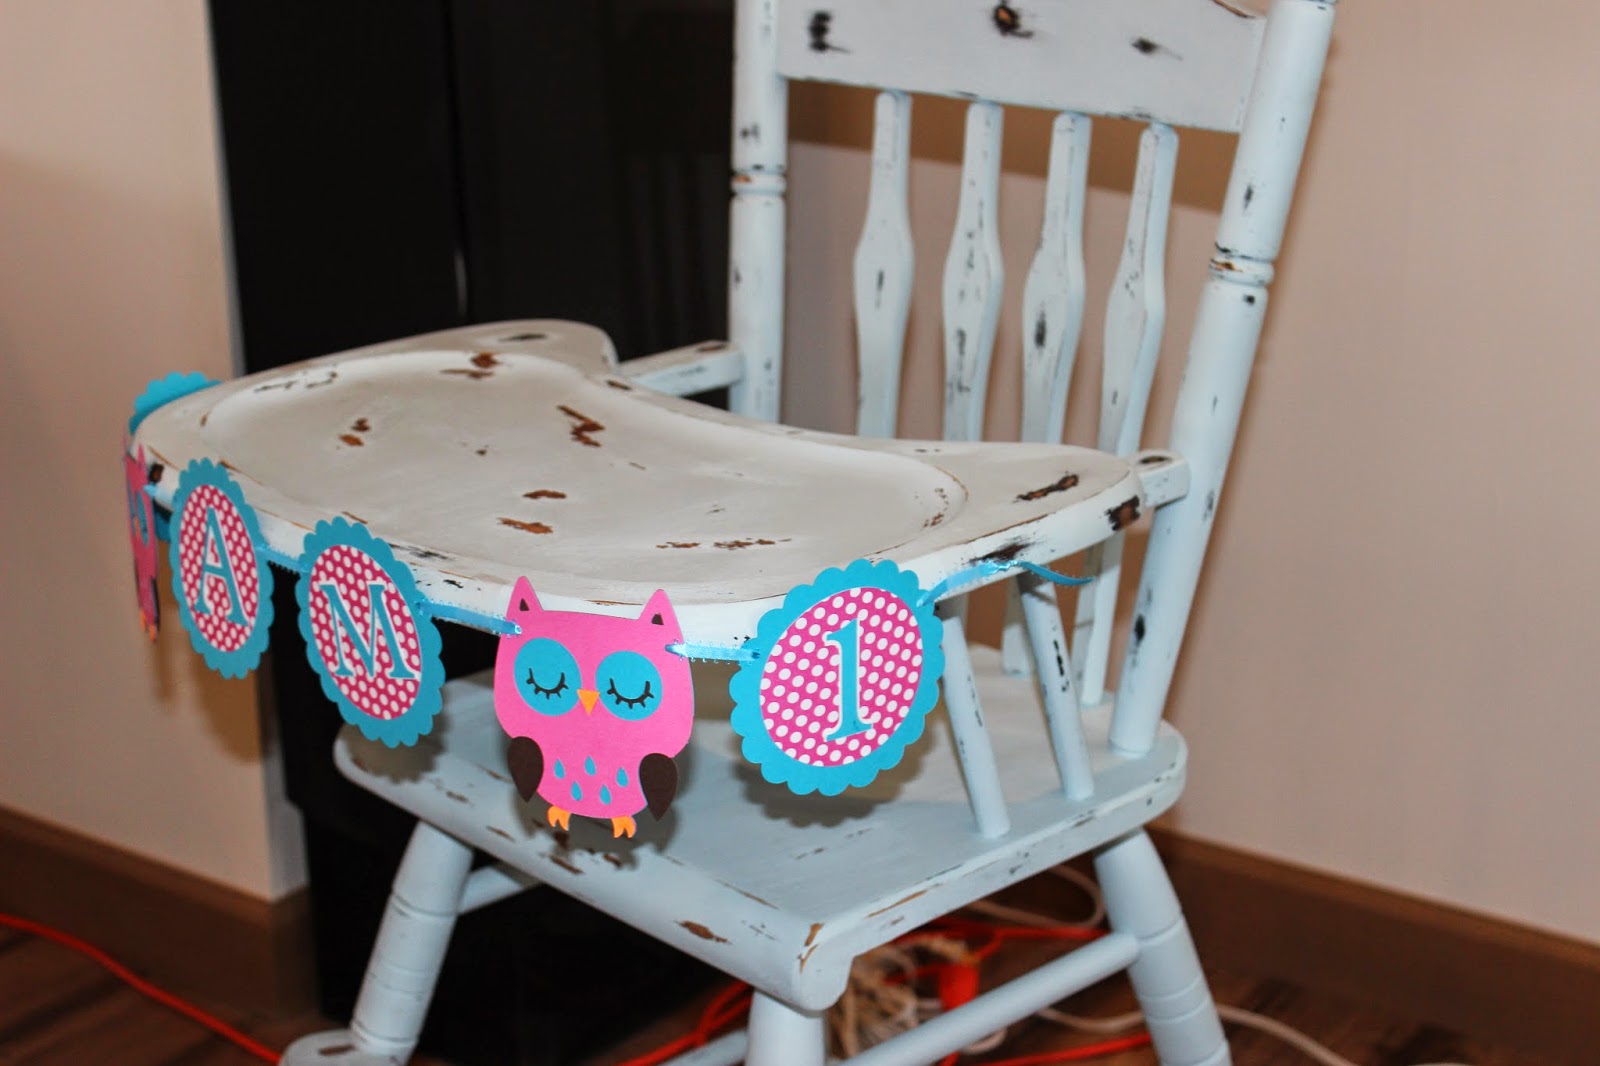
I know I promised this high chair refinish post months ago so here it is! FINALLY!! Thanks to help from my sister-in-law, I was able to get this project underway. I found this old wood high chair at a garage sale last summer. YES, it took me 1 YEAR to get it done, but oh well!!! When I saw it I knew I was going to refinish it and use it for my daughter's 1 year photo session. I have never done anything like this before so I was terrified to begin. Perhaps that's why it took so long?! Ok I'm not going to ramble on any more, until the next post! ;) Let's get down to the details.

I used a quart of paint for this project (and I have a ton left so I'm looking for my next victim).
I also bought a carton of Plaster of Paris (again I didn't use much).
I did not measure, I just added the plaster until I was happy with the thickness.

Here are my tips:
1. Mix the paint and plaster of paris in a plastic container that can be sealed up for later use because it does dry fast.
2. Remember that the plaster of paris will lighten the color of the paint just a little.
3.  You want the paint mixture to be thick but smooth.
4. Take before pictures.

So how did I do it?
Be sure you wash up the wood piece really well with warm soapy water. Did I spend hours sanding before I was ready to paint? NO!!!! I took a piece of sandpaper (medium grit) and just went over a few rough spots. This is where the plaster of paris is a life saver! It helps to thicken the paint and cover it really well.
 
By the time I painted the first layer on the black was mostly covered. I only did 2 layers and everything was covered perfectly. I did antique mine so I wasn't worried about everything being 100% perfect either. I did remove the metal tray pieces and the seat strap.

I also took note of where the natural distress marks where so I could somewhat duplicate a natural worn out look. I think it turned out pretty great! I just used the same sandpaper as before and lightly rubbed to get the look I was going for.


 I was relieved when the painting was finished and looked great. But then it was time to distress it. and I was scared! I started with the tray because I knew this would be covered in the cake photos and that I might not use it for the others. This was the hardest section to sand because I didn't know where to do it. The original one was pretty worn but I also didn't want a wood center with a blue rim. So I decided to wing it!
 

I loved the spots like this where you could see the black and the original wood all in one location. Finished and all ready for photos!!
 

Mommy with the birthday girl! Love you so much Nomi!!

I did not seal the chair up yet because I did not know what to use. I want it to have the matte finish so I have some researching to do. Hope this helps you out and encourages you to dive into your project as well. It was so easy to do! I truly enjoyed every step of it, and I already have a few more pieces I am going to work on this winter!

Remember if I can do it, you can too!!
Leah


Pin It!

Friday, May 9, 2014

Look Whooo's One!

One?!?! I can't believe my baby girl is already 1! I see all these other kids I know and comment on how fast they have grown, then I look at my own children, and I am reminded how precious our time together is. God has blessed us with 2 wonderful children, and I love telling them how much we love them! It was Naomi's turn to be spoiled with a great party. Owls was our theme and I had a lot of fun making everything. The high chair was a garage sale find that will be talked about more in a later post. :) The banners are made from the Cricut, homemade tutu, cupcakes, owl cupcake toppers made from Stampin Up punch, and flying owls made from paper lanterns. Hope you enjoy!


I have to let you in on a little secret... my husband helped ice the cupcakes!!


 Benjamin, Leah, Isaiah (2 1/2), and Naomi (1) Goetz


She loved digging into her cake! We had a wonderful party with our family and friends. We are so blessed to have so many amazing people in our lives and praying for our family!
Pin It!

Wednesday, January 8, 2014

9 months already

It is hard to believe that my baby girl is already 9 months old! We have had fun getting use to 2 kids under 2 and watching them play together. It's amazing to see their interactions and love for one another starting so young. These two crack me up everyday! All Isaiah has to do is shake his head and laugh and soon enough you hear Naomi giggling right along with him. I enjoy taking pictures and videos of my kids all the time. But when Naomi was 3 months old, I started taking over the photo shoots as well. The photos and "professional" experience was starting to get too expensive so thanks to pinterest and other photographers who love to share their work, I have been learning A LOT. Here are a few of my favorite shots from the kids sessions:

Naomi 3 months July 2013


Isaiah 2 years September 2013


 (he did this pose all on his own)


 Naomi 6 months October 2013


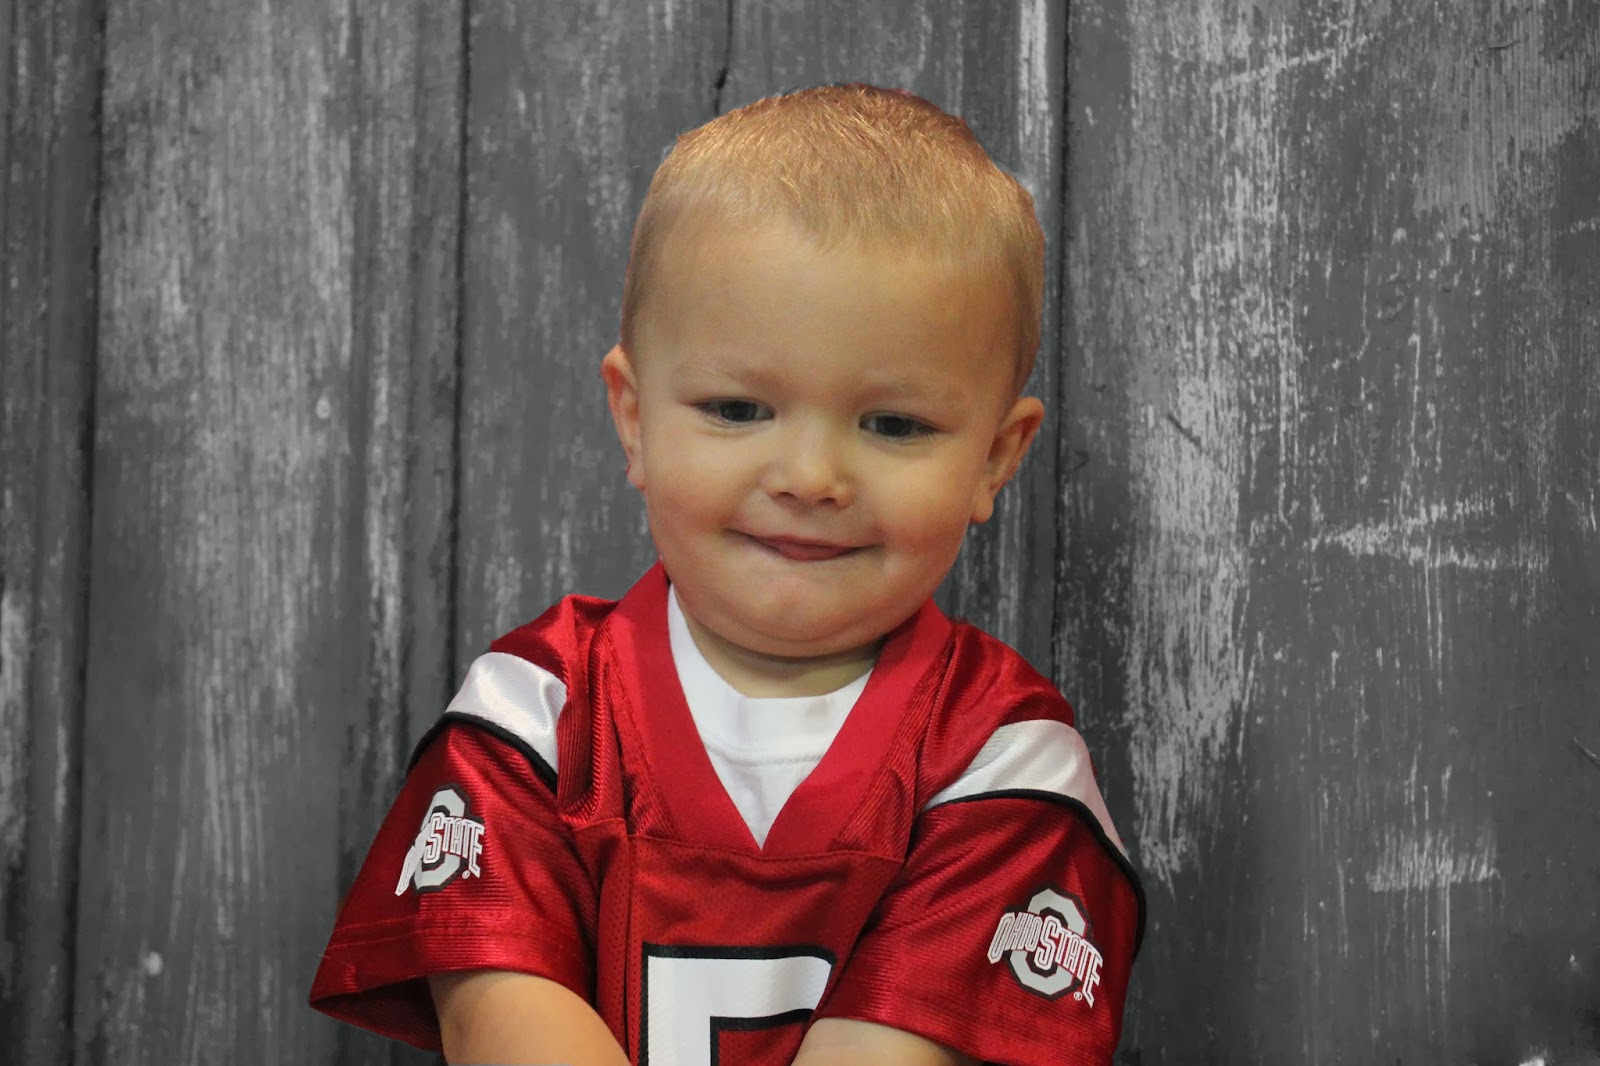
 (had to take a few ohio state shots for grandpa)


Christmas Card 2013


 Naomi 9 months January 2014


I love learning more and more about my camera and photoshop. I still have a long way to go, but it is saving me money, and I'm having tons of fun!!

If you are interested in knowing more about the editing options or want any tutorials, leave a comment and I will get back to you!
Hope you all have a safe and warm week (it has been in the negatives here with negative 48 degree wind chills)!!
And remember... IF I CAN YOU, YOU CAN TOO!

                                                                        Leah
Pin It!